# 备份 mysql 数据库 $ mysqldump -uroot mysql > /tmp/mysql.sql
创建一个库保存数据
1
$ mysql -uroot -e 'CREATE DATABASE kei'
将 mysql 库恢复成新建的库,作为测试数据
1
$ mysql -uroot kei < /tmp/mysql.sql
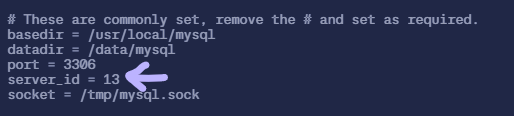
2.2 数据库配置
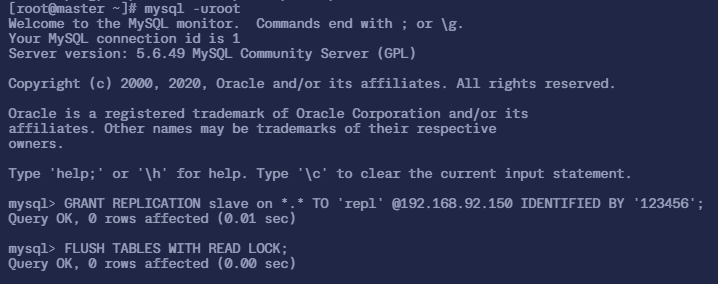
进入数据库(没有密码)
1 2 3 4 5 6 7 8 9 10 11 12 13 14
$ mysql -uroot
Welcome to the MySQL monitor.  Commands end with ; or \g.
Your MySQL connection id is 1
Server version: 5.6.49 MySQL Community Server (GPL)

Copyright (c) 2000, 2020, Oracle and/or its affiliates. All rights reserved.

Oracle is a registered trademark of Oracle Corporation and/or its
affiliates. Other names may be trademarks of their respective
owners.

Type 'help;' or '\h' for help. Type '\c' to clear the current input statement.

mysql>
创建用作同步数据的用户并赋予权限
1
2
mysql> GRANT REPLICATION slave on *.* TO 'repl' @192.168.92.% IDENTIFIED BY '123456';
Query OK, 0 rows affected (0.01 sec)
# 在 master 节点上 $ scp /tmp/mysql.sql [email protected]:/tmp/ The authenticity of host '192.168.92.151 (192.168.92.151)' can't be established. ECDSA key fingerprint is SHA256:LVuXc2s5PJkwqgsTC1Z370zHUtAzwxR2wvcJOfVONAY. ECDSA key fingerprint is MD5:e4:84:3c:84:a3:ee:73:1b:c8:fb:d2:c9:7a:1e:05:d2. Are you sure you want to continue connecting (yes/no)? yes Warning: Permanently added '192.168.92.151' (ECDSA) to the list of known hosts. [email protected]'s password: mysql.sql 100% 692KB 27.4MB/s 00:00
$ mysql -uroot Welcome to the MySQL monitor. Commands end with ; or \g. Your MySQL connection id is 3 Server version: 5.6.49-log MySQL Community Server (GPL)
Copyright (c) 2000, 2020, Oracle and/or its affiliates. All rights reserved.
Oracle is a registered trademark of Oracle Corporation and/or its affiliates. Other names may be trademarks of their respective owners.
Type 'help;' or '\h' for help. Type '\c' to clear the current input statement.
# 进入数据库 $ mysql -uroot Welcome to the MySQL monitor. Commands end with ; or \g. Your MySQL connection id is 3 Server version: 5.6.49-log MySQL Community Server (GPL)
Copyright (c) 2000, 2020, Oracle and/or its affiliates. All rights reserved.
Oracle is a registered trademark of Oracle Corporation and/or its affiliates. Other names may be trademarks of their respective owners.
Type 'help;' or '\h' for help. Type '\c' to clear the current input statement.
mysql>
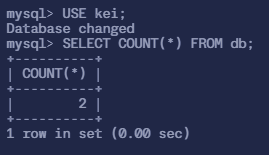
mysql> USE kei; Database changed mysql> SELECT COUNT(*) FROM db; +----------+ | COUNT(*) | +----------+ | 2 | +----------+ 1 row in set (0.00 sec)
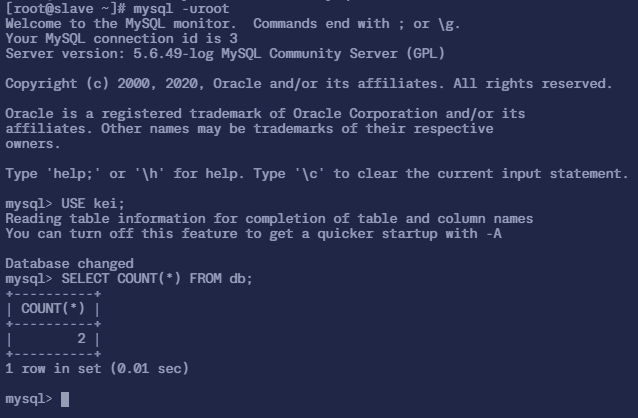
# 进入数据库
$ mysql -uroot
Welcome to the MySQL monitor.  Commands end with ; or \g.
Your MySQL connection id is 3
Server version: 5.6.49-log MySQL Community Server (GPL)

Copyright (c) 2000, 2020, Oracle and/or its affiliates. All rights reserved.

Oracle is a registered trademark of Oracle Corporation and/or its
affiliates. Other names may be trademarks of their respective
owners.

Type 'help;' or '\h' for help. Type '\c' to clear the current input statement.

mysql>

mysql> USE kei;
Reading table information for completion of table and column names
You can turn off this feature to get a quicker startup with -A

Database changed
mysql> SELECT COUNT(*) FROM db;
+----------+
| COUNT(*) |
+----------+
|        2 |
+----------+
1 row in set (0.01 sec)